Saturday, May 30, 2015

A new camera and an early morning outing

Late last year I bought a Sony Alpha 7R mirrorless camera. This camera not only has a full sized 36 megapixel sensor, it is small and lightweight, and allows you to use any lens (with adaptor) including any of my Canon lenses. Lenses designed for a cropped sensor camera will work, but with a reduced field of view.

I went to Japan in February and because I was restricted to a small luggage limit, I just took the Sony with a 50mm lens with me. I missed having a wide angle lens, but loved having a much less bulkier setup when travelling. It also forced me to use what I have, and to be honest I am very happy with the camera and the photos I took.

I have been struggling to find time to include photography into my regular routine, and have been toying with putting aside one day a week to indulge. Whether it's taking pictures, or doing courses, editing photos or learning how my camera works, it's time dedicated to the pursuit. So on Friday I went shooting.

I got up early and was on the road by 5:30am, after fuelling the car and popping back home to pick up the tripod - whoops!!

Then north about 80km to a small fishing hamlet called Port Gregory.

Being on the west coast the opportunity to watch the sun rise over water involves finding lakes to shoot across, and Port Gregory offers some choice spots to position the camera for just such a shot. The forecast was for a few clouds, but otherwise still conditions. Perfect.

Sunrise is a low light situation so the tripod was a necessity, and because the only native lens I have is the 50mm, I was using a Canon 24-105 f/4L IS lens with a Metabones adaptor. The 10-22mm Canon lens I've used in the past (the one that fell into the drink in Java and now only works in manual) is for cropped sensor cameras, so the field of view is massively reduced. A no go for landscape photography with the Sony.

I'm really liking this lens/camera combination, although it works best on manual focusing as the auto focusing is a bit hit and miss. I'm fine with this, and the Sony comes with a few focusing aids to help with manual focusing so it isn't actually a big issue, especially when we are talking landscapes. Pop camera on tripod, compose photograph, manually focus, set exposure and away you go. The camera doesn't have a cable release, but instead you use your mobile phone for wireless shutter release.

So I thought I'd share a few pictures from the morning.


This one was taken just before the sun broached those hills on the horizon. Waiting for just the right amount of illumination on the clouds was a lesson in patience.


This is another taken at about the same time, but I have adjusted the white balance to create a visually more pleasing picture. I'm continuously surprised by the difference in what I see versus what the camera sees and whether this is a representation of what it really looked like is beside the point.


The sun is now up, but still very low in the sky. This photo was taken 10 minutes after the previous shot, but we have moved location and now the sun is coming from the right, thus illuminating the foreground rocks and the dunes on the left with a lovely warm light. I love the cloud reflections too.


This one is very similar, but the focus is clearer on the clouds. Just a subtle difference, plus the white balance is a little cooler.


This photo is taken nearby the third shot, but 20 minutes later. In fact there are only 40 minutes between the sunrise photos and this one. The sun is much higher now (you may notice some lens glare), but the lake remains glassy with beautiful reflections. The solitary tree root adds to the composition. This photo has been manipulated in post production, mostly with a change in white balance and saturation to even out the colours of the sky and lake.


That's because this lake is a Pink Lake. It has an algae growing in the shallow lake which produces a red pigment, turning the lake pink. As the sun rises the pink colour is easier to discern, and a little post production doesn't hurt either.


I really enjoyed my Friday outing, hope you enjoyed the pictures.

Sunday, December 21, 2014

Still learning - editing

There are so many learning curves in photography.

  1. Getting to know your camera
  2. Learning composition
  3. Learning how to read and use light
  4. Experimenting with filters, different apertures and movement
  5. Editing photos
  6. Creating your own personal expression

A while back I talked about getting to know my camera. It doesn't really matter what camera you have, but knowing how it responds in different situations is key to making good photos. Since I wrote that piece I've got two new cameras, so the learning curve begins from the beginning again. At least it's less intimidating each new camera, but be prepared to take lots of crap photographs along the way.   Most importantly, put your camera into manual mode ASAP so you can learn from your mistakes. You will never learn what your camera is capable of if you stick with the automatic settings. Not saying I never use them, but the better you know your camera, the less you'll want them.

My brother taught me the basics of composition and it's probably the simplest topic to google and learn from the myriad of internet articles. Just remember that it's OK to break "the rules", but it's a good starting point. After a while you just see the composition you are after as more an emotional experience than a purely scientific one, well I do anyway...

Learning to read light is something I'm not very good at yet, so we might leave that one for now...

As you know I've been experimenting with neutral density filters to take long exposure shots of oceans and waterfalls. I'm still very much a beginner in this, but those filters now go everywhere with me. Using different apertures to create variance in depth of field is a skill, much helped by using a smart phone app to give you guidance, especially when trying to get hyperfocal distance for landscape shots.

Then there's editing photos, which is probably as big a learning curve as all the other topics already discussed.

My go to for photo editing is Lightroom, which is a great piece of software for managing, editing, publishing and printing your artwork. It's a one stop shop for any task you want to execute on your photograph, from importing into a catalogue, correcting lens and chromatic aberration, correcting white balance and highlights, removing spots, doing further editing in more sophisticated software, storing your edited photo alongside the original, and then allowing you to print or publish the photo to any number of websites. Seriously, if you don't have Lightroom, you are missing out.

It's possible to create any number of Lightroom presets, and I have many - some I've made myself, others I've downloaded free or purchased. Presets are great for speeding up your workflow, and because they are fully customisable, you can tweak them. Lots of artistic expression allowed.

Many photographers then export their photographs to Photoshop and work on them further using layers, blending more than one photograph together, removing unwanted objects etc. I've got Photoshop, but it intimidates me, and I don't really understand all the filters and layers and nine times out of ten I discard my attempts and give up.

But a few months ago I stumbled upon Perfect Photo Suite, software from a company called On One, which I call Photoshop for Dummies. It has a bunch of preset layers that you can apply to your photos, all non destructive, and when you are done you save your work and it pops it back into Lightroom right next to your original. It makes removing unwanted subject matter really easy, and you can substitute backgrounds like skies without any headaches at all. It also has a bunch of textured overlays so you can get really arty farty.

Which gets me to number 6, because photography is art, and everyone needs to find their own creative expression within the art. For me, I can take a photo that expresses some sort of emotion, but what comes out doesn't always reflect it. Good editing is often the key to recreating just what you wanted to say.

Below are some photos that I hope illustrate my points.


This photo was taken at sunset from the beach at Carita, on the west coast of Java, as surfers were coming in for the day. The surfer is backlit, which I like, and the clouds are really dramatic, but the photo lacks oomph. There are some annoying pieces of seaweed in the water which detract from the picture. So I used Perfect Photo Suite to improve the dynamic range and remove some of those distractions.


The next photo I shared in the previous post. It was taken before sunrise at Murchison Settlement in outback WA. The moon is rising in the east ahead of the sun and the colours are so soft and beautiful. But it was a handheld shot and the focus is a bit naff and there's not a lot of subject matter, it's more about the colours. 


So I added texture. Interestingly the texture I chose suggests there's a faint line of hills in the distance, which there clearly isn't from the original, and ends up creating some depth that the original didn't have.


Next is a photo taken of two boats in a river in Padang, West Sumatra. This was my best attempt at a Lightroom edit. Composition of boats nice, brown muddy water, distracting floating bits and weird colour cast pretty horrid. 


A tighter crop to remove the foreground (see bottom right corner) erasing some of the floating debris and a texture overlay of a blue cloudy sky gave this photo something it never had in the original. I could have removed the blue overlay from the green boat, but since it just looks like blue paint on the boat I left it. Plus I still need to learn how to do that...


Finally, a photo I took on my way home from Carnarvon a couple of weeks ago. This was a line of trees along a fence line with a field of stubble in the foreground. The composition and the light were what drew me to stop the car, pull out the camera and climb in the ditch to take the shot.


It's a nice shot but it didn't really capture the fact that the sun was going down. Until I added artistic expression


Hope you've enjoyed.

Saturday, November 29, 2014

A trip through the Murchison

Seeing as I'm mostly a very lazy photographer, I haven't been doing much shooting recently. But I have been playing with photos.

I'm a lot more interested in what I can make from a photograph than just trying to shoot something to look realistic. Adding drama or a dynamic quality to a two dimensional image can turn it from a snapshot into a work of art. Art, of course being entirely in the eyes of the beholder!


Mostly I edit photos in Lightroom, but I'm not always satisfied with the results. My monochromes lack impact and I struggle to get the right amount of saturation into my photos without them being over the top. I have no problem with photos no longer looking realistic, but the colours still have to work.

Photoshop has been the place to go to tweak photos and add those artistic touches. But it has always defeated me. However,  a while ago I purchased Perfect Photo Suite, which is kind of like a Photoshop for Dummies. Lots of filters and presets that you can twiddle with to your hearts content, a much nicer erase tool, and much easier blend options. With lots of black and white options too.

This new software I'm using is almost idiot proof. It's a plugin from Lightroom so all the files are stacked next to each other, and they are also all non destructive.

So I've been playing with a few old photos from my trips through the Murchison.

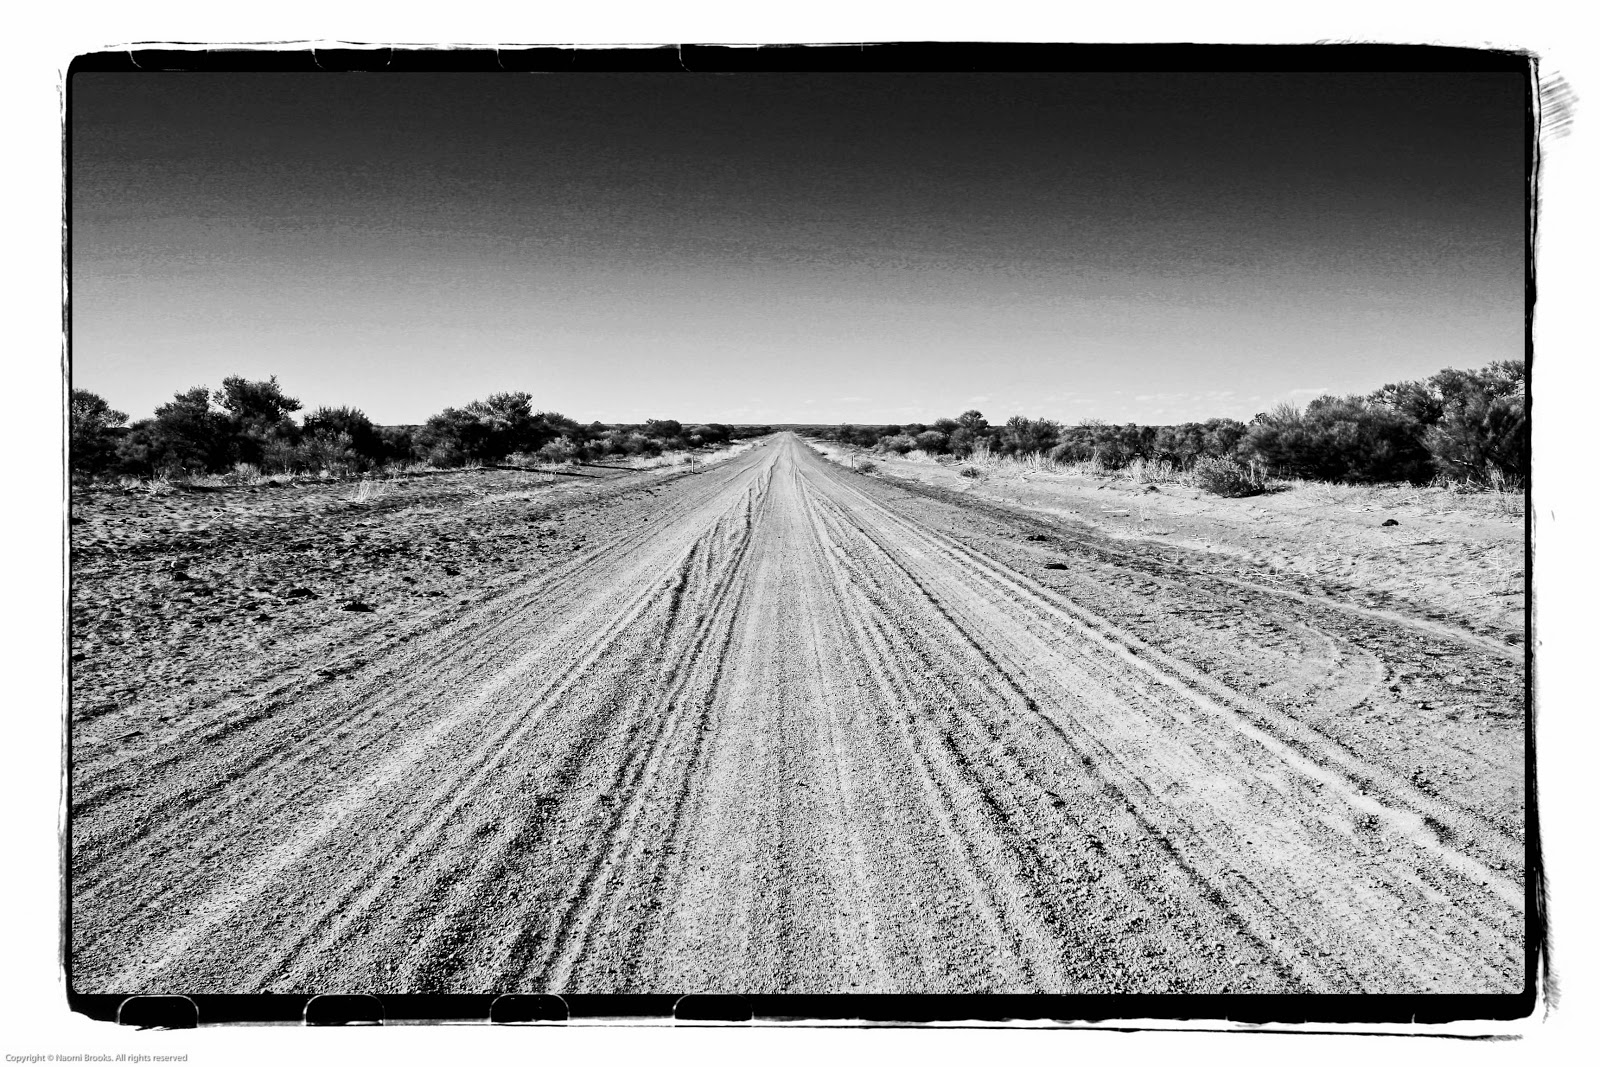
The Murchison is the region immediately north east of Geraldton, the main rivers running through it being the Gascoyne and Murchison Rivers, which reach the coast at Carnarvon and Kalbarri respectively. Aside from the North West Coastal Highway and the road to Mt Magnet, all the roads are dirt.

It's mostly sheep and goat country, being far too marginal for wheat cropping. There's some interesting old shearers quarters which make for a good subject. The old shearing shed that used to be here blew down in a mini tornado a few years ago..


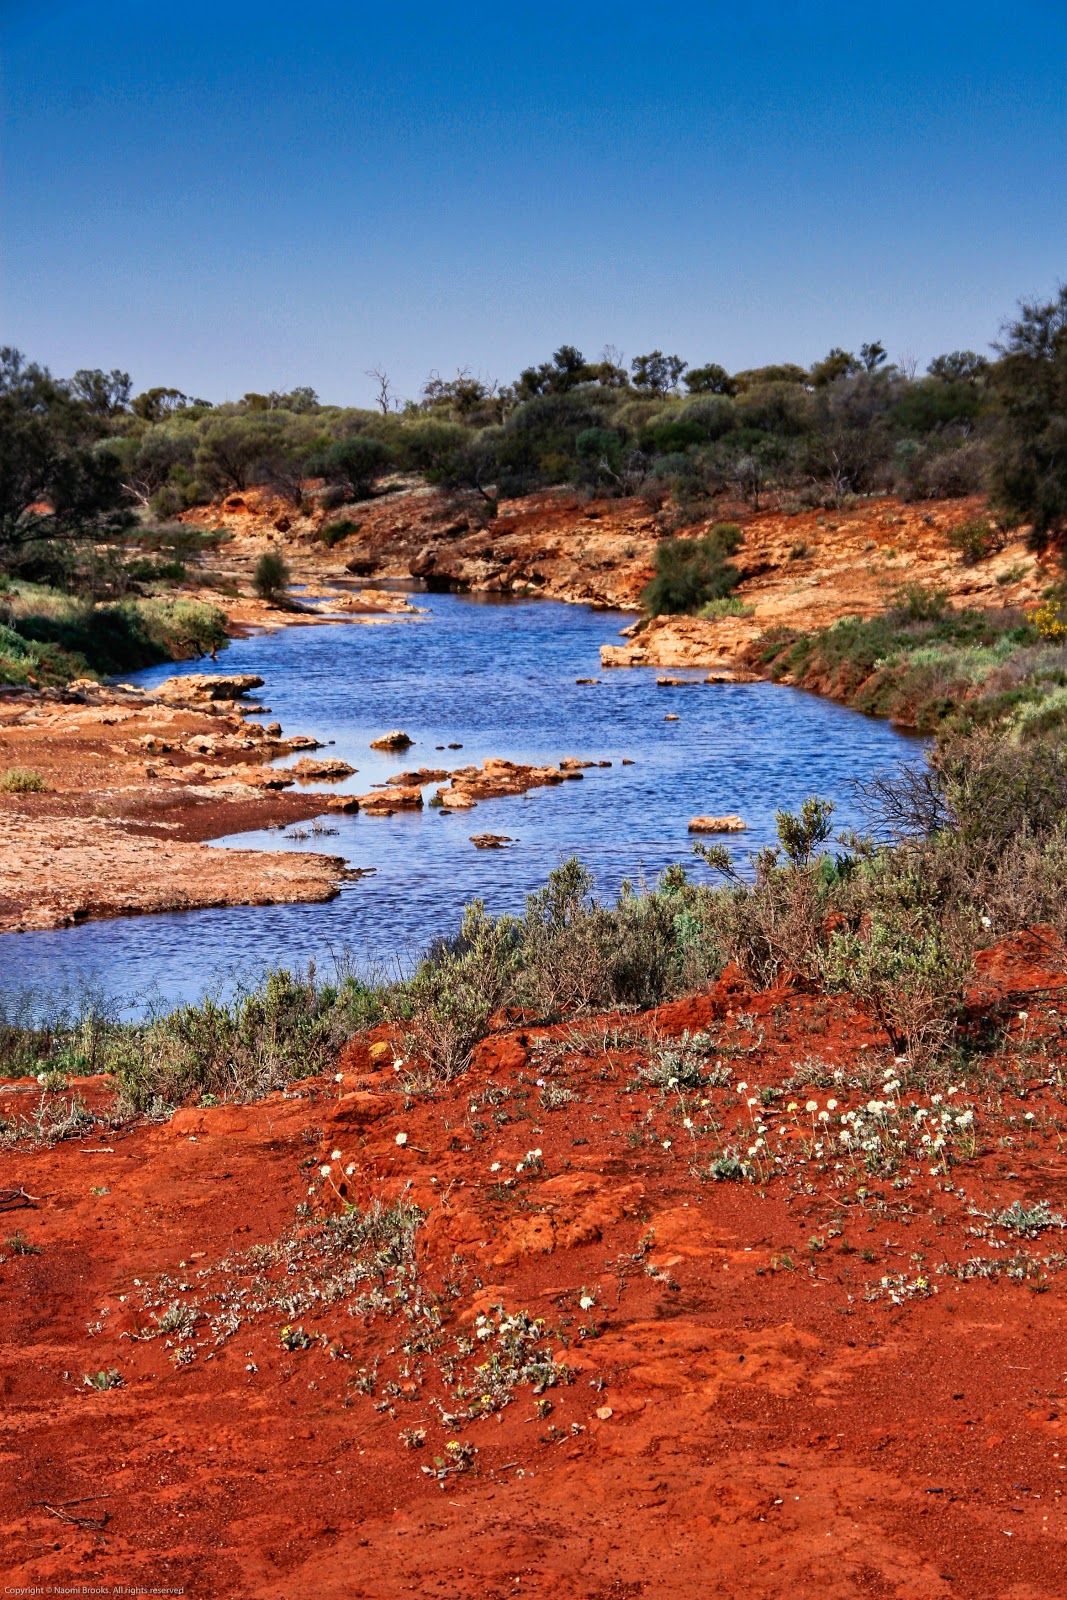
The landscape is low scrub, saltbush and red earth. The Greenough River also flows through the region before it arrives at the sea just south of Geraldton. This is a small waterhole on the river just north of Mullewa.


There's the remains of past railway usage.


And lots of wildflowers most seasons.


It's worth a wander...


Saturday, July 12, 2014

Upgrading my camera

After managing to drown my 50D taking long exposure shots of the sunrise at Baluran National Park in Java Indonesia, it was time to purchase a new camera. Even though I still have my 30D its tiny screen just doesn't cut it anymore, nor does its lack of bells and whistles.


The new mirrorless cameras really do look like the future, and with cameras like Sony's Alpha 7R with the ability to use your old glass from any make of camera (just add adaptor) I almost made the jump. Except for the price.

DSLR prices have reduced drastically in the last few years, probably because mirror technology seems to be an outdated medium. In fact anyone doing live view shooting or video on their SLR is using mirrorless technology. It's only a matter of time before viewing pictures through an optical viewfinder is obsolete, along with all that heavy mirror stuff that makes it possible. Digital viewfinders, so you can still use an eyecup, actually give you the advantage of seeing what your shot will look like, unlike optical, so it's an advantage along with a drastic weight reduction in the camera.

So instead of forking out for a full frame digital mirrorless camera I decided to buy a much cheaper Canon EOS 70D SLR. It literally cost half what I paid for the body of my 50D back in 2009 but I had to buy new batteries and cards (it uses SD cards rather than CF cards) and chargers so that upped the price a little. I think it's a pretty good reflection of where the market is going, but I'll wait a little for the top end of the mirrorless market to steady. Do I really need a full frame camera when half my lenses are optimised for APS-C?

The 70D has lots of features that the mirrorless cameras have, like live view, video and wireless connections to smart phones. You can bet your bottom dollar I'm going to be using these quite a bit, particularly as I also like the way the camera has been configured to get you easy access to these utilities. OK the WiFi set up is pretty gangly, but once you work it out it's not too hard.

I'm loving the live view, especially as the LCD screen folds out, can be tilted around to give you the best view, and allows for better composed shots from the hip. It also has a viewfinder level to correct my chronic off kilter horizons, and I'm particularly looking forward to getting some much crisper shots by utilising not only its improved sensor but the ability to zoom in on the screen to ensure you've got your focus right. Yes, that last bit requires a tripod peeps!


I'm yet to replace my 10-22mm wide angle lens so no long exposures for the time being (the ND filters only fit that lens) so I will be playing around with the camera using other lenses, maybe do a little macro, and experiment with the video. I'll also transfer some images over to the phone and edit them using smartphone apps. I love using Snapseed to edit photos, and having access to some of the files from my SLR with much larger colour spaces should give me a lot more creative freedom.


Photos transferred from the camera to my iPhone are converted to JPG and compressed, so inevitably I lose some quality The big plus is only needing to use one camera at a time to capture shots, but then being able to edit them in different ways ( I'm usually a bit more creative with my Snapseed edits than my Lightroom edits) on different devices. It means that I don't need to take an extra shot with the iPhone, and can utilise the optics of a wide angle or telephoto lens rather than the digital zoom on the phone. Both the above photos were taken with my iPhone, but I took many more with the SLR at the same time.

Like everyone, I sometimes want to shoot off a quick shot to Facebook to share, something I couldn't do with the old SLR without importing and editing through LR. So I'll take a few iPhone shots instead. They're usually rushed, and not great quality as a result. I'm much more careful with my SLR shots. Even though it will take longer than continuing to rush off some shots, having the option to transfer shots from my 70D to my phone for uploading to Facebook means my pictures should take a great leap in quality. Of course this requires a little self discipline...

There's also the option to connect wirelessly to the internet and to my computer, but since I wish to edit my photos first, and not tie myself to Canon's EOS utility software, I think I'll just keep to my usual workflow of download into LR, edit and publish. Except for my Snapseed photos, which I often publish direct to the web from my smartphone. So I'll stick with just smartphone connectivity for now.

I'm also working out how to do time-lapse using the smartphone as controller. Watch this space...

Friday, June 27, 2014

Long exposure photography

In keeping with a previous post, I've been spending a bit of time working on long exposure shots. Mostly of moving water in streams and small cascades, as well as ocean shots at twilight.

It's trial and error, because the amount of exposure time needed depends on the water flow as well as whether the sun is shining or not. It's much better to have the sun behind clouds for these stream shots so you don't get harsh highlights and shadows.

Of course a tripod is a necessity. A good sturdy strong one. Water and cameras don't mix!

All these photos were taken with my Canon 50D body and 10-22mm EF-S lens. Using neutral density filters. The ISO was set at 100, but apertures and exposure times were really variable. From 3 seconds to 30 seconds! There's no easy way to work out what's the right exposure, though I do use the in camera light meter to give me a guide. After all, you're trying to create something that you can't see - a picture of light in motion - so only practice gets you there.

I'm working with two different neutral density filters at present. One is the Tiffen Variable ND filter which gives you a bit of flexibility in controlling the light coming through the lens, between 2 to 8 stops, which means you can try a bunch of different timed exposures to find the right look. I found this filter particularly useful for running water shots.


The second filter is the previously mentioned Hoya NDX400, which is one dark piece of glass, and awesome for those silky long sunrise shots over the ocean.


The final thing that happened not long after this shot was captured was a wave toppled my tripod and flooded/ ruined my camera. Perhaps I hadn't stabilised it as well as I thought I had - it was certainly a rather unpleasant surprise.

So I'll soon be the proud owner of a new Canon 70D!!

Tuesday, June 24, 2014

Photography Workflow

Recently I returned from a 2 month backpacking trip around Java in Indonesia. Usually when I backpack I don't take a laptop, but on this trip I did, because I wanted to trial my photography editing workflow whilst on the road. I wanted to see whether I could do everything I do at home from anywhere, i.e. be location independent. And the answer to that question is resoundingly yes!

A while back I talked about management of files, and although I still haven't worked through my backlog of photos I am at least being more organised with my new photos. And sticking to one system. So I thought I'd describe my system and how it differs when I'm on the road.

Let's start with the basics. My home computer is a Macbook Air 256Gb SSD drive which I bought in 2011. It's pretty fast, but I'll probably soon update to a newer MBA with USB 3.0 ports and a larger SSD drive. For now, it serves its purpose well and is wonderfully light for travelling with. Same computer for home and the road.

Because the MBA only carries 256Gb of storage all my photographs are stored on an external hard drive. At home my main external drive is a mains powered 1.5Tb Seagate drive using the Seagate GoFlex thunderbolt adaptor. This means I can use any SATA drive, connect it to the adaptor and I have fast thunderbolt connectivity. It's quite a neat system, just not portable for backpacking.

Instead, when travelling, I use a Lacie 1Tb Rugged external drive. This is USB powered, and since the MBA only has USB 2.0 it can't take advantage of the faster USB 3.0 it's made for. It's still fast enough though. The latest Lacie Ruggeds now have thunderbolt connectivity and cables - at a heftier price tag though...

Prior to travelling I clone the drives, and clone back on my return. For this I use Superduper. I also use Superduper to clone my MBA hard drive every few days so I have a backup OS should the MBA die. At home I use a second external hard drive that the MBA is cloned onto, so I need to do the same thing on the road.

Now at home I also use another external hard drive to backup to Time Machine, and another to store all my RAW files to a second location should I lose the photos on the external hard drive. This equates to four separate hard drives, with lots of redundancy. FWIW I also do another copy of my pictures for storage elsewhere, like if the house burnt down or something.

For travel, I'm not going to carry a whole bunch of external hard drives, so instead I've partitioned one 1 TB WD hard drive to carry the clone of my OS, Time machine, and the RAW files. And a fourth partition for any extra storage I'd like to bring or use. GoPro footage for instance. Of course if this hard drive fails I lose all my redundancy in one fell swoop, but it's only redundancy remember, not the main files or OS, so I can clone again with a brand new drive. This means I only need to travel with 2 small external hard drives.

This setup allows me to continue the same workflow as at home, which goes like this:

I import all my photos into Lightroom using custom presets. My custom presets use the same naming protocol - I use dates and timestamps - and all apply copyrighting meta data on import. They only differ in a few different ways based on camera and destination.

The first custom preset I have is for iPhone photos. Since these photos are JPGs I simply copy them from the phone into Lightroom and don't make a second copy elsewhere. The custom preset already determines the location, and simply needs to be edited to the new location hard drive the first time I travel (the Lacie), and then on my return (back to the Seagate). Because the files on the hard drives are identical I don't need to change the destination folders within the catalogue, as Lightroom is able to be redirected to the new hard drive quite easily.

The second custom preset is for RAW photos. Because there are 2 different hard drives involved - one for the main import and one for the second RAW copy - I have 2 different presets. One is called "RAW imports", the other called "RAW imports while travelling". The first converts my RAW photos to Digital Negatives (DNGs, the generic, non proprietal form of RAW photos), imports them onto the main external drive (the Seagate), and stores a second copy of the RAW files on a second hard drive.
The second preset does exactly the same thing, but imports the DNGs to the Lacie, and the RAW copies to the partitioned hard drive. So as long as I use the correct import reset, I just connect the hard drives and I'm away.

This is where having such a good program like Lightroom makes its purchase so worthwhile.  The fact that one can switch hard drives with such ease and the software can recognise it (sure you have to show it where it is, it doesn't do it automatically), means travel and maintaining the same workflow is a breeze. I can not say the same for some other programs I've used, yes I'm looking at you iMovie!!

So, once the photos are imported, I can select and edit those photos I wish to keep and then publish them to a selection of websites. Each new iteration of Lightroom seems to get better at this end of the workflow, and these days there's a plethora of plug ins that allow you to publish photos directly to many popular photo sharing and social networks. In the past you needed to export the photos to a file on your computer and then upload them individually or in batches onto your selected website. Or upload directly from the camera, unedited, which is what I used to do before. Now, that can all be done within Lightroom.

The main website I use is Picasa, because that's connected to my blogs, but I also use Flickr and Facebook. Without leaving Lightroom I create a new album on my Picasa webpage, put the photos into that new album (it's actually a smart collection within Lightroom so not using up precious hard drive space either) and then when I'm ready I just click the publish button and it all happens. It's a fairly similar process for the other websites as well.

For travel, I only need to be connected to the internet at 2 times during this publish process. I need to be online to create the album in the first place, and of course I need to be online to actually upload the photos. But I don't need to be connected to edit and stock the album, meaning I can pick and choose what I want to publish at my leisure and should I decide to re edit a photo I can republish the new edit next time I'm connected to the internet. In the past, travelling without a computer, uploading a huge amount of unedited photos took a lot of time at internet cafes, because I didn't have the luxury of editing as I went. I guess I now spend that time on the laptop in my room instead, but I end up saving a lot of money and being a lot more ruthless with my photography - both great things! And with wireless technology I can now take advantage of cheaper internet usage rates, like between midnight and 9am in Indonesia, to do all my large file uploading.

So, that's my workflow in a nutshell.

Happy editing!!

Friday, December 20, 2013

Using a Neutral Density Filter

Since my last post I have indeed been shooting exclusively in manual mode. I've played with changing the ISO, the aperture and the shutter speed to get a well exposed shot, and although I haven't taken any pictures worth bragging about, I have learnt a lot and believe I'm taking better exposed pictures as a result.

I can highly recommend going fully manual, you will really get to understand your exposures so much better.

Ever since I began trying to take long exposure shots of waterfalls I've been coveting a neutral density filter. The problem with taking longer exposures of white water is that although you get the silky look, the white tends to be over exposed. Which is where the neutral density filter comes in.


A neutral density filter is like a pair of sunglasses. It reduces the amount of light coming through the lens, therefore allowing a longer exposure - to get the silky movement - without blowing out the highlights. The filters come in various strengths, depending on how many stops down of light they block.

I have a variable ND filter on order, but at present am working with a Hoya NDX400 which is effectively a 9 stop filter. This filter is considered the grand daddy of ND filters and came with a hefty price tag, but hey, it's Christmas right? It's also summer, so no waterfalls anywhere near me at present. Lots of ocean and sunsets though.

I had to head up to Carnarvon for a teaching session, so I threw the swag in the car and headed north on Thursday, stopping in at Gladstone for the night. This is an old loading jetty on Shark Bay, now disused and falling apart, but the shallow waters of Shark Bay make for a good subject for my first attempt at a long exposure shot with the filter.

The following photo was taken at f/18 for 30 sec, ISO 100 using my EFS 10-22mm lens at 10mm. Without the ND filter this would just be white. I've done some post processing to bring out some of the colours.


Comments always appreciated.