Showing posts with label lightroom. Show all posts

Sunday, December 21, 2014

Still learning - editing

There are so many learning curves in photography.

  1. Getting to know your camera
  2. Learning composition
  3. Learning how to read and use light
  4. Experimenting with filters, different apertures and movement
  5. Editing photos
  6. Creating your own personal expression

A while back I talked about getting to know my camera. It doesn't really matter what camera you have, but knowing how it responds in different situations is key to making good photos. Since I wrote that piece I've got two new cameras, so the learning curve begins from the beginning again. At least it's less intimidating each new camera, but be prepared to take lots of crap photographs along the way.   Most importantly, put your camera into manual mode ASAP so you can learn from your mistakes. You will never learn what your camera is capable of if you stick with the automatic settings. Not saying I never use them, but the better you know your camera, the less you'll want them.

My brother taught me the basics of composition and it's probably the simplest topic to google and learn from the myriad of internet articles. Just remember that it's OK to break "the rules", but it's a good starting point. After a while you just see the composition you are after as more an emotional experience than a purely scientific one, well I do anyway...

Learning to read light is something I'm not very good at yet, so we might leave that one for now...

As you know I've been experimenting with neutral density filters to take long exposure shots of oceans and waterfalls. I'm still very much a beginner in this, but those filters now go everywhere with me. Using different apertures to create variance in depth of field is a skill, much helped by using a smart phone app to give you guidance, especially when trying to get hyperfocal distance for landscape shots.

Then there's editing photos, which is probably as big a learning curve as all the other topics already discussed.

My go to for photo editing is Lightroom, which is a great piece of software for managing, editing, publishing and printing your artwork. It's a one stop shop for any task you want to execute on your photograph, from importing into a catalogue, correcting lens and chromatic aberration, correcting white balance and highlights, removing spots, doing further editing in more sophisticated software, storing your edited photo alongside the original, and then allowing you to print or publish the photo to any number of websites. Seriously, if you don't have Lightroom, you are missing out.

It's possible to create any number of Lightroom presets, and I have many - some I've made myself, others I've downloaded free or purchased. Presets are great for speeding up your workflow, and because they are fully customisable, you can tweak them. Lots of artistic expression allowed.

Many photographers then export their photographs to Photoshop and work on them further using layers, blending more than one photograph together, removing unwanted objects etc. I've got Photoshop, but it intimidates me, and I don't really understand all the filters and layers and nine times out of ten I discard my attempts and give up.

But a few months ago I stumbled upon Perfect Photo Suite, software from a company called On One, which I call Photoshop for Dummies. It has a bunch of preset layers that you can apply to your photos, all non destructive, and when you are done you save your work and it pops it back into Lightroom right next to your original. It makes removing unwanted subject matter really easy, and you can substitute backgrounds like skies without any headaches at all. It also has a bunch of textured overlays so you can get really arty farty.

Which gets me to number 6, because photography is art, and everyone needs to find their own creative expression within the art. For me, I can take a photo that expresses some sort of emotion, but what comes out doesn't always reflect it. Good editing is often the key to recreating just what you wanted to say.

Below are some photos that I hope illustrate my points.


This photo was taken at sunset from the beach at Carita, on the west coast of Java, as surfers were coming in for the day. The surfer is backlit, which I like, and the clouds are really dramatic, but the photo lacks oomph. There are some annoying pieces of seaweed in the water which detract from the picture. So I used Perfect Photo Suite to improve the dynamic range and remove some of those distractions.


The next photo I shared in the previous post. It was taken before sunrise at Murchison Settlement in outback WA. The moon is rising in the east ahead of the sun and the colours are so soft and beautiful. But it was a handheld shot and the focus is a bit naff and there's not a lot of subject matter, it's more about the colours. 


So I added texture. Interestingly the texture I chose suggests there's a faint line of hills in the distance, which there clearly isn't from the original, and ends up creating some depth that the original didn't have.


Next is a photo taken of two boats in a river in Padang, West Sumatra. This was my best attempt at a Lightroom edit. Composition of boats nice, brown muddy water, distracting floating bits and weird colour cast pretty horrid. 


A tighter crop to remove the foreground (see bottom right corner) erasing some of the floating debris and a texture overlay of a blue cloudy sky gave this photo something it never had in the original. I could have removed the blue overlay from the green boat, but since it just looks like blue paint on the boat I left it. Plus I still need to learn how to do that...


Finally, a photo I took on my way home from Carnarvon a couple of weeks ago. This was a line of trees along a fence line with a field of stubble in the foreground. The composition and the light were what drew me to stop the car, pull out the camera and climb in the ditch to take the shot.


It's a nice shot but it didn't really capture the fact that the sun was going down. Until I added artistic expression


Hope you've enjoyed.

Saturday, November 29, 2014

A trip through the Murchison

Seeing as I'm mostly a very lazy photographer, I haven't been doing much shooting recently. But I have been playing with photos.

I'm a lot more interested in what I can make from a photograph than just trying to shoot something to look realistic. Adding drama or a dynamic quality to a two dimensional image can turn it from a snapshot into a work of art. Art, of course being entirely in the eyes of the beholder!


Mostly I edit photos in Lightroom, but I'm not always satisfied with the results. My monochromes lack impact and I struggle to get the right amount of saturation into my photos without them being over the top. I have no problem with photos no longer looking realistic, but the colours still have to work.

Photoshop has been the place to go to tweak photos and add those artistic touches. But it has always defeated me. However,  a while ago I purchased Perfect Photo Suite, which is kind of like a Photoshop for Dummies. Lots of filters and presets that you can twiddle with to your hearts content, a much nicer erase tool, and much easier blend options. With lots of black and white options too.

This new software I'm using is almost idiot proof. It's a plugin from Lightroom so all the files are stacked next to each other, and they are also all non destructive.

So I've been playing with a few old photos from my trips through the Murchison.

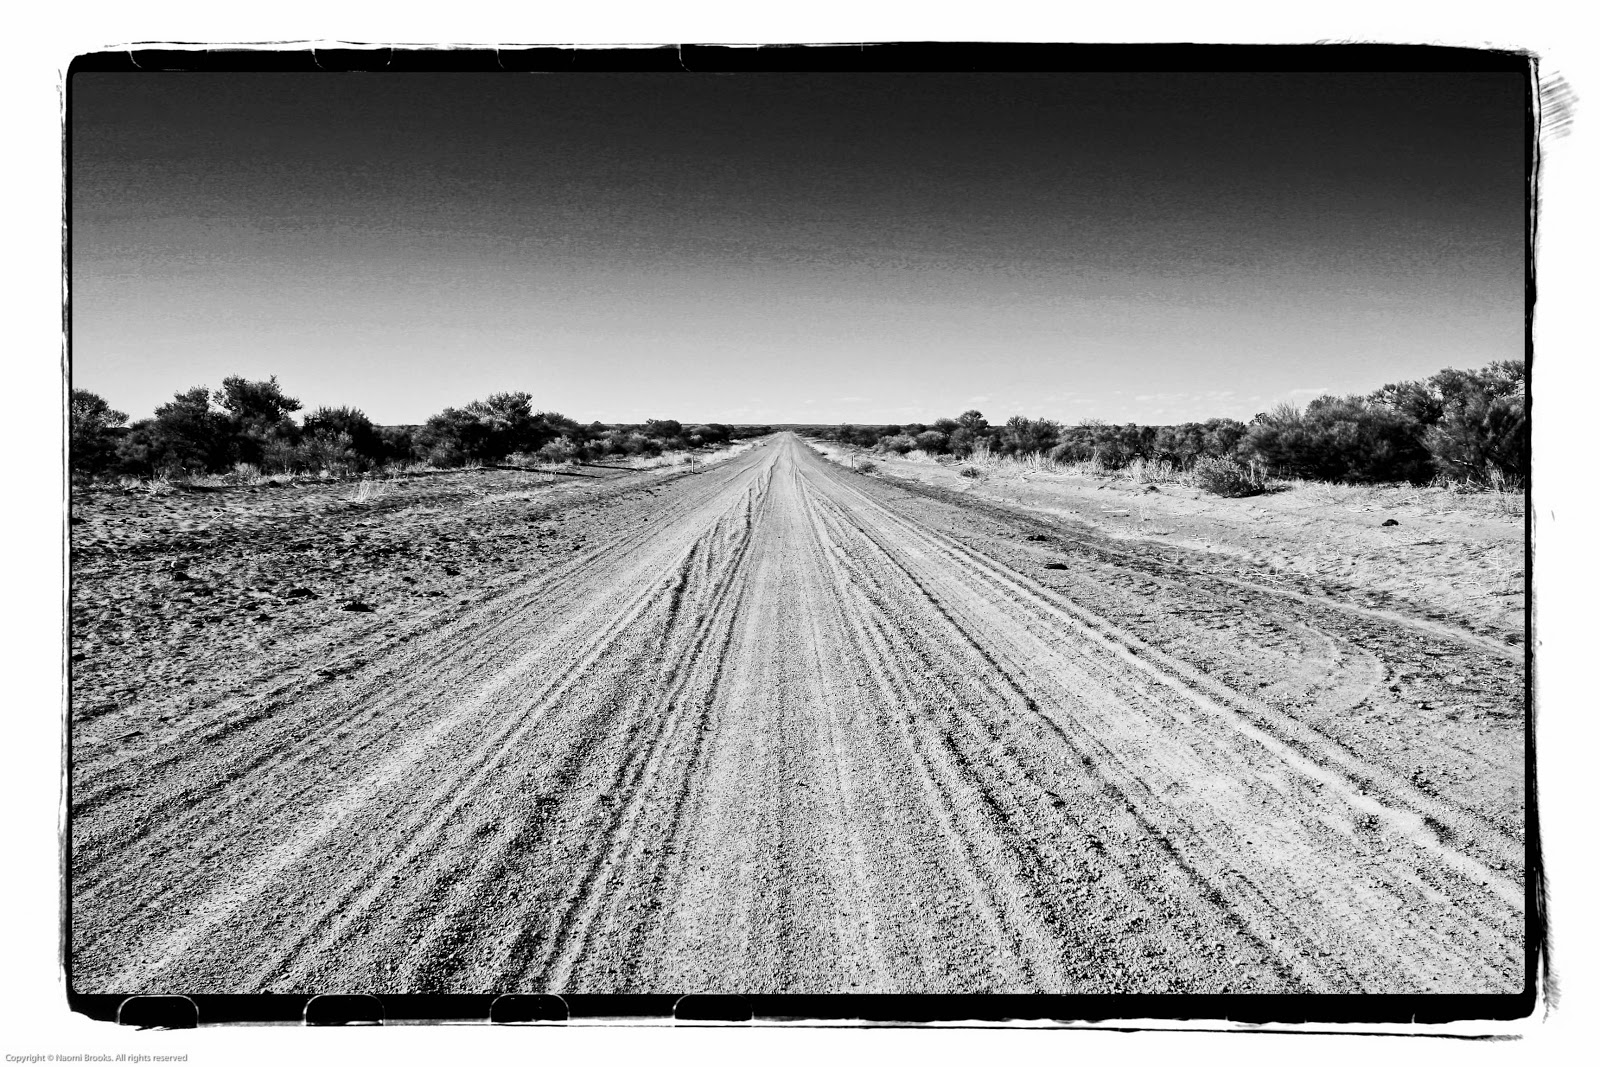
The Murchison is the region immediately north east of Geraldton, the main rivers running through it being the Gascoyne and Murchison Rivers, which reach the coast at Carnarvon and Kalbarri respectively. Aside from the North West Coastal Highway and the road to Mt Magnet, all the roads are dirt.

It's mostly sheep and goat country, being far too marginal for wheat cropping. There's some interesting old shearers quarters which make for a good subject. The old shearing shed that used to be here blew down in a mini tornado a few years ago..


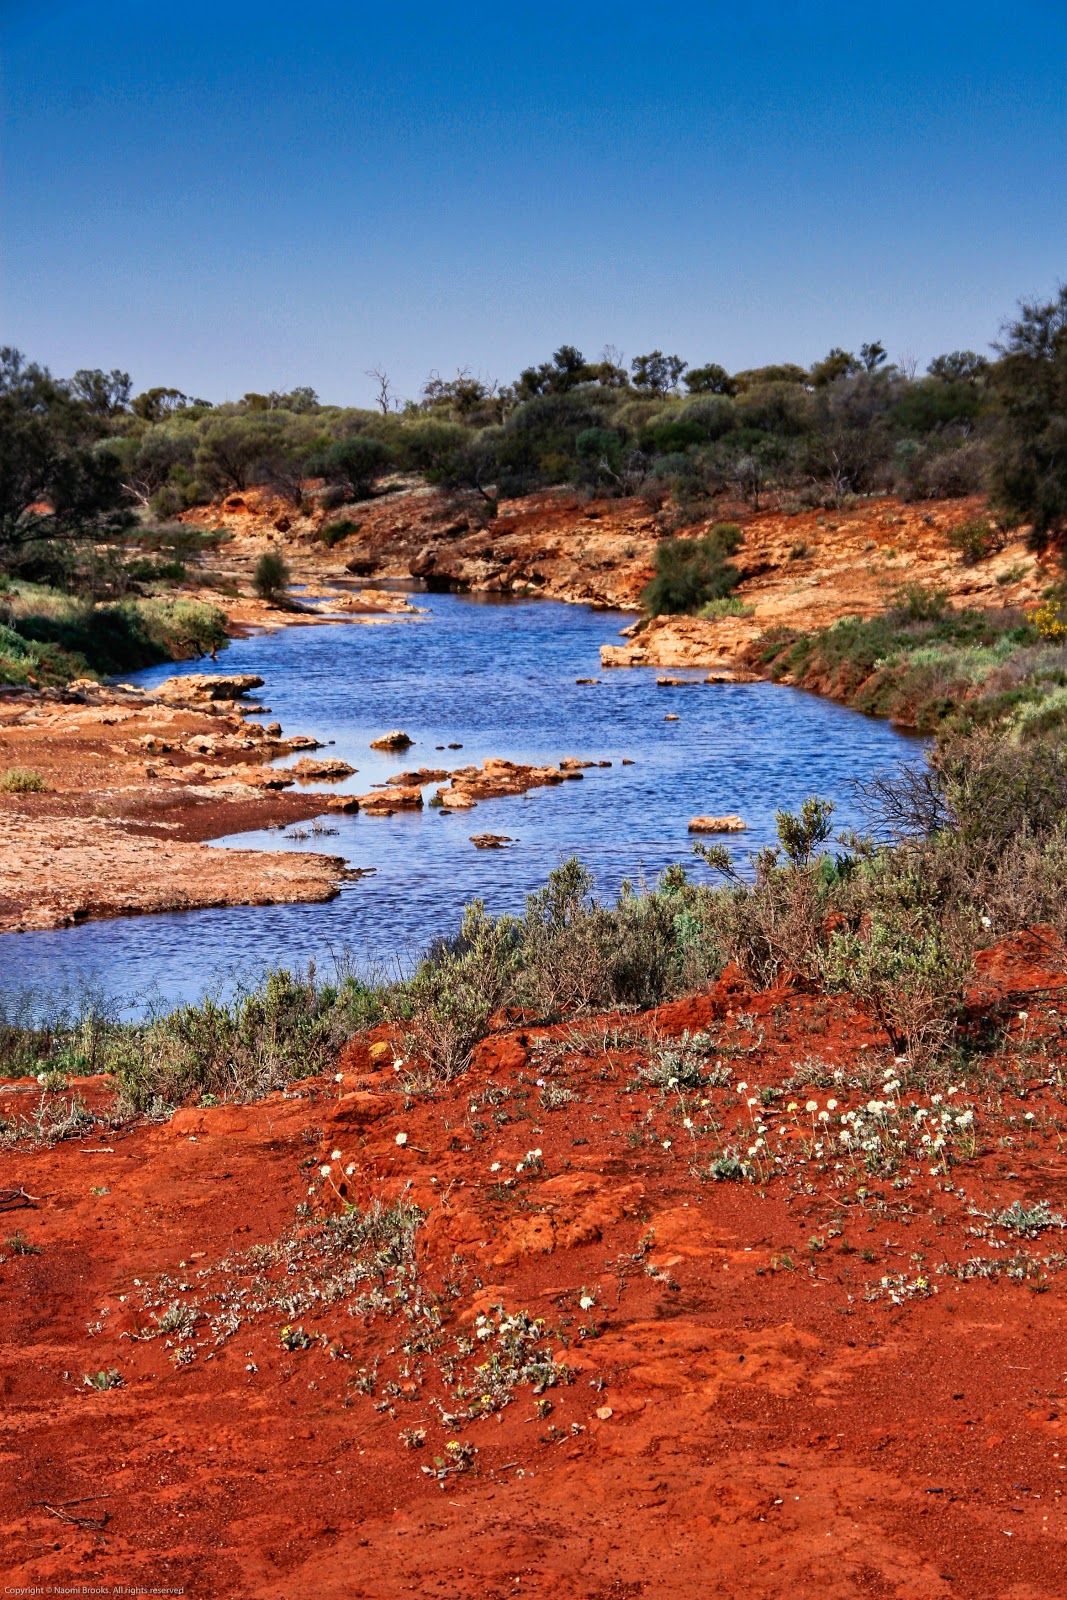
The landscape is low scrub, saltbush and red earth. The Greenough River also flows through the region before it arrives at the sea just south of Geraldton. This is a small waterhole on the river just north of Mullewa.


There's the remains of past railway usage.


And lots of wildflowers most seasons.


It's worth a wander...


Tuesday, June 24, 2014

Photography Workflow

Recently I returned from a 2 month backpacking trip around Java in Indonesia. Usually when I backpack I don't take a laptop, but on this trip I did, because I wanted to trial my photography editing workflow whilst on the road. I wanted to see whether I could do everything I do at home from anywhere, i.e. be location independent. And the answer to that question is resoundingly yes!

A while back I talked about management of files, and although I still haven't worked through my backlog of photos I am at least being more organised with my new photos. And sticking to one system. So I thought I'd describe my system and how it differs when I'm on the road.

Let's start with the basics. My home computer is a Macbook Air 256Gb SSD drive which I bought in 2011. It's pretty fast, but I'll probably soon update to a newer MBA with USB 3.0 ports and a larger SSD drive. For now, it serves its purpose well and is wonderfully light for travelling with. Same computer for home and the road.

Because the MBA only carries 256Gb of storage all my photographs are stored on an external hard drive. At home my main external drive is a mains powered 1.5Tb Seagate drive using the Seagate GoFlex thunderbolt adaptor. This means I can use any SATA drive, connect it to the adaptor and I have fast thunderbolt connectivity. It's quite a neat system, just not portable for backpacking.

Instead, when travelling, I use a Lacie 1Tb Rugged external drive. This is USB powered, and since the MBA only has USB 2.0 it can't take advantage of the faster USB 3.0 it's made for. It's still fast enough though. The latest Lacie Ruggeds now have thunderbolt connectivity and cables - at a heftier price tag though...

Prior to travelling I clone the drives, and clone back on my return. For this I use Superduper. I also use Superduper to clone my MBA hard drive every few days so I have a backup OS should the MBA die. At home I use a second external hard drive that the MBA is cloned onto, so I need to do the same thing on the road.

Now at home I also use another external hard drive to backup to Time Machine, and another to store all my RAW files to a second location should I lose the photos on the external hard drive. This equates to four separate hard drives, with lots of redundancy. FWIW I also do another copy of my pictures for storage elsewhere, like if the house burnt down or something.

For travel, I'm not going to carry a whole bunch of external hard drives, so instead I've partitioned one 1 TB WD hard drive to carry the clone of my OS, Time machine, and the RAW files. And a fourth partition for any extra storage I'd like to bring or use. GoPro footage for instance. Of course if this hard drive fails I lose all my redundancy in one fell swoop, but it's only redundancy remember, not the main files or OS, so I can clone again with a brand new drive. This means I only need to travel with 2 small external hard drives.

This setup allows me to continue the same workflow as at home, which goes like this:

I import all my photos into Lightroom using custom presets. My custom presets use the same naming protocol - I use dates and timestamps - and all apply copyrighting meta data on import. They only differ in a few different ways based on camera and destination.

The first custom preset I have is for iPhone photos. Since these photos are JPGs I simply copy them from the phone into Lightroom and don't make a second copy elsewhere. The custom preset already determines the location, and simply needs to be edited to the new location hard drive the first time I travel (the Lacie), and then on my return (back to the Seagate). Because the files on the hard drives are identical I don't need to change the destination folders within the catalogue, as Lightroom is able to be redirected to the new hard drive quite easily.

The second custom preset is for RAW photos. Because there are 2 different hard drives involved - one for the main import and one for the second RAW copy - I have 2 different presets. One is called "RAW imports", the other called "RAW imports while travelling". The first converts my RAW photos to Digital Negatives (DNGs, the generic, non proprietal form of RAW photos), imports them onto the main external drive (the Seagate), and stores a second copy of the RAW files on a second hard drive.
The second preset does exactly the same thing, but imports the DNGs to the Lacie, and the RAW copies to the partitioned hard drive. So as long as I use the correct import reset, I just connect the hard drives and I'm away.

This is where having such a good program like Lightroom makes its purchase so worthwhile.  The fact that one can switch hard drives with such ease and the software can recognise it (sure you have to show it where it is, it doesn't do it automatically), means travel and maintaining the same workflow is a breeze. I can not say the same for some other programs I've used, yes I'm looking at you iMovie!!

So, once the photos are imported, I can select and edit those photos I wish to keep and then publish them to a selection of websites. Each new iteration of Lightroom seems to get better at this end of the workflow, and these days there's a plethora of plug ins that allow you to publish photos directly to many popular photo sharing and social networks. In the past you needed to export the photos to a file on your computer and then upload them individually or in batches onto your selected website. Or upload directly from the camera, unedited, which is what I used to do before. Now, that can all be done within Lightroom.

The main website I use is Picasa, because that's connected to my blogs, but I also use Flickr and Facebook. Without leaving Lightroom I create a new album on my Picasa webpage, put the photos into that new album (it's actually a smart collection within Lightroom so not using up precious hard drive space either) and then when I'm ready I just click the publish button and it all happens. It's a fairly similar process for the other websites as well.

For travel, I only need to be connected to the internet at 2 times during this publish process. I need to be online to create the album in the first place, and of course I need to be online to actually upload the photos. But I don't need to be connected to edit and stock the album, meaning I can pick and choose what I want to publish at my leisure and should I decide to re edit a photo I can republish the new edit next time I'm connected to the internet. In the past, travelling without a computer, uploading a huge amount of unedited photos took a lot of time at internet cafes, because I didn't have the luxury of editing as I went. I guess I now spend that time on the laptop in my room instead, but I end up saving a lot of money and being a lot more ruthless with my photography - both great things! And with wireless technology I can now take advantage of cheaper internet usage rates, like between midnight and 9am in Indonesia, to do all my large file uploading.

So, that's my workflow in a nutshell.

Happy editing!!

Thursday, January 17, 2013

Management 101

Don't know about you, but I've got about 6 or 7 years worth of digital files, and another 30 odd years of film stock sitting around gathering dust. And a pretty poor management system.

Whether starting up, mid flight, or just staring down a pile from the past, I doubt there's anyone out there who hasn't thought to themselves "I've gotta have a system for this". Well lucky for us there's enough OCD types out there in geek land who have developed systems for us!!

I'm now working from a Mac, and am in the process of collating my past files from numerous sources, consolidating them, and backing them up. I'm just going to talk about digital files today.

The software I use is Lightroom.

The reasons:

1. It is a database. If I import all my photos into the LR catalog I can do all my renaming inside the catalog and the catalog finds my photos when I go looking for them. All file management is done from inside the application. One place does it all, and every new version just gets better!

2. It's backup friendly. I actually purchased Lightroom outright, but an alternative these days is to join the Adobe Cloud and get access to the software (in fact all their creative software applications) for a monthly subscription, meaning should you need to reinstall the application you can. If you haven't already set up your own backup that is! Lightroom allows you to backup your catalog - for which most people utilise cloud services like Dropbox - and your photos to a second location. And you can set this all up to occur automatically using preferences and presets.

3. It's intuitive. Look I've struggled with Photoshop for years and I just find all the switches and toggles, layers and masks, brushes and smart filters incredibly overwhelming. I don't understand how to use them and I'm scared I'll do something destructive. I've even bought books and tutorials but it's just got too many bells and whistles for a girl who's just a photographer. Lightroom, OTOH, is completely non destructive and can now do pretty much everything for photographs that Photoshop used to. The way the graduating filter and adjustment brushes work make so much more sense to me. It still can't do HDR or photo stitching but there's good software available to go to for them anyway. Editing really is very easy, and if you make a mistake, you just reset or go back a few steps. And you can make multiple virtual copies from the one photo which I think is awesome.

4. You can do slideshows, make books and upload your pictures directly to online photosharing sites. Be it Facebook, Twitter, Flickr, Picasa, Smugmug, there's a plugin available so you can publish your edited collections straight to your online accounts, without having to export them and then upload them manually. And if you then re-edit a photo, it'll republish the edited photo for you! How's that for saving you precious time?

I'm afraid I've never seen Aperture, which is really the only other viable competition, but with a history of PC and Premiere Pro use for my video work, I'm sticking with the Adobe platform, which these days is fully Mac compatible. I've actually heard alot of Aperture fans have moved to LR because of its superior data management system, but I'm making no comparisons, just saying what I use and why.

So you have a nice little application, now you've got to use it properly. Let me give you a few tips.

1. Don't go moving your files around, renaming them or whatever, outside the application. You want to show someone some of your photos? Open LR, find the photos and start a slideshow. It'll take less than a minute to set up and if you've got a good data management system, you'll find the photos really easy.

2. Develop a workflow and stick with it. Naming your files in one consistent way. Adding keywords and location metadata to your files makes them so much easier to find. Learning how to use the filters to find your photos helps of course, and you do have to put in a bit of hard yakka initially to make the database work its magic for you. But because Lightroom allows you to make presets, and remembers what you do often, you get faster and faster at the data entry as you go. Use smart collections to track your progress through the workflow. You want to know where you are along the treadmill, how many photos you've yet to keyword, or edit, or upload to your preferred photosharing site.

3. If you have a system, this job doesn't seem insurmountable. No system and it's a source of ever mounting anxiety. Trust me, get a system!

Let me introduce you to Gavin Gough. Don't know the man but if I ever meet him I'd give him the biggest hug and kiss for publishing not only an eBook, but also a bunch of presets and smart collections that I can use to instantly have a fully functional workflow. Not quite instant, it probably takes a day to read the book and set up Lightroom before you're ready to go, but a day!!! Not bad work for years of barely restrained panic at the sight of those thousands of photos banking up.

You can find Gavin's book here. Use code photowork33Jan to get a 33% discount till the end of January.

Oh, and what he has to say about backing up your files, do it!! I mean, external hard drives are so cheap these days it's a no brainer.